





How to Anodize Titanium



In this Guide
- What is Anodization?
- Which Metals Can Be Anodized?
- WARNING!
- Anodizing Gear Checklist
- How to Anodize Titanium: The Full Breakdown
- Customization Through Masking
- Anodizing With 9 Volt-Batteries
Curious about anodization? After reading this guide on anodizing titanium, you’ll know the ins and outs of the anodizing process.
With a few inexpensive tools, you can even do your own anodization at home!
Anodization occurs when you augment the oxide level on the surface of a metal, giving it different colors.
Unlike traditional DLC (Diamond-Like Carbon) or powder coating, anodization is converted from the material, not applied to it.
It’s durable and long-lasting, but it can also be easily removed if desired.
Fun fact: beyond just looking cool as all get-out, anodization increases the material’s surface hardness, marginally increasing resistance to scratches and scrapes.
What is Anodization?
Anodization is a process used to increase the thickness of the natural oxide layer on the surface of metal parts.
The process is called "anodizing" because the part you’re treating serves as the anode in an electrolytic cell.
In plain English, the metal is connected to a power source and immersed in a conductive liquid, where electricity causes the oxide layer to grow.
The color of the metal can change based on the thickness of the oxide layer (e.g., from gray to blue).
Which Metals Can Be Anodized?
Although many metals can be anodized—including magnesium, zinc, niobium, and tantalum—anodization is popular within the knife industry for its applications with titanium and aluminum.
Knife handle scales and hardware (screws, pocket clip, backspacer, etc.) are frequently anodized to create a dynamic color contrast.
Our guide today is only applicable to anodizing titanium.
Aluminum anodization is a completely different and more involved process that involves etching, dyeing, and sealing. It’s a topic for another article.
WARNING!
Before you disassemble your knife and start anodizing, there’s some stuff you need to understand.
First, disassembly or modification of your knife will likely void your warranty.
Second, though anodization is a simple-enough process, if you do it wrong, the consequences could be dire. It involves electricity and chemicals that could cause you significant injury or even death!
Take proper precautions and do your own independent research.
Blade HQ is not responsible for any damage or injury sustained from the knowledge gained in this guide.
Anodizing Gear Checklist
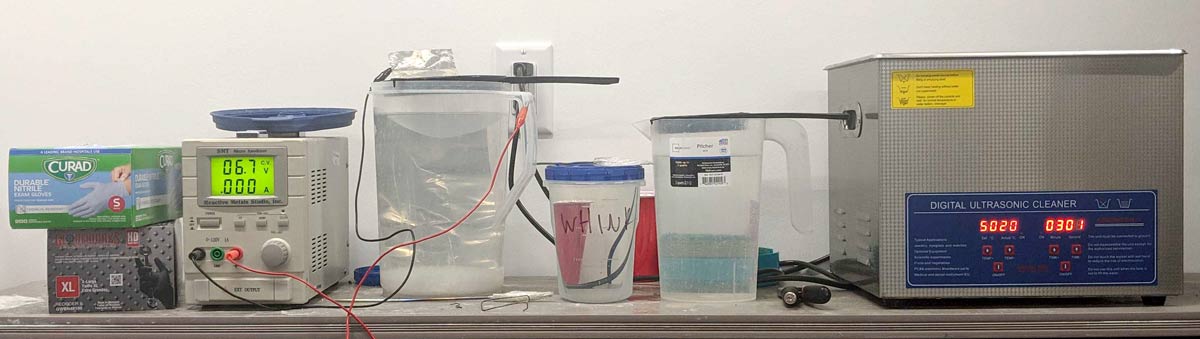
Accumulate the following to get started:
- Power supply (or a handful of 9V batteries)
- 3 non-reactive containers (glass and many types of plastic are non-reactive)
- A powerful degreaser (Dawn dish soap, Simple Green, 90%+ isopropyl alcohol, Acetone, etc.)
- An electrolyte (like Borax, trisodium phosphate, or simple baking soda)
- A piece of conductive metal, like steel (ideally, it should be a hair larger than the largest piece of titanium you intend to anodize)
- Titanium wire
- Rubber gloves
- Paper towels
For the best results and customization options, you’ll also want the following, though you can technically get good results without these:
- Ultrasonic cleaning machine
- A low strength acid like Whink Rust Stain Remover or Multi-Etch
- Nail polish and a way to remove it (for customization)
Some Great Knives to Anodize
All of these knives feature sweet titanium scales that are perfect for anodizing! But remember, you may lose your warranty!
Titanium Knives & Parts
Carousel
Carousel-
4.75
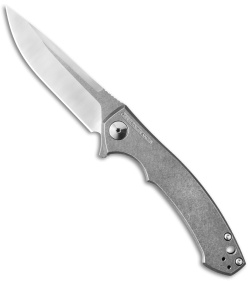 Zero Tolerance Sinkevich 0450 Flipper Titanium Knife (3.25" SW/Satin) ZTMSRP: $290.00Our Price: $232.00
 -
4.75
-
5
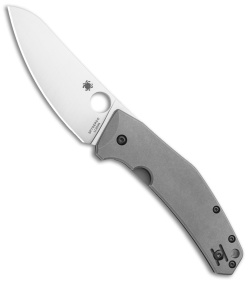
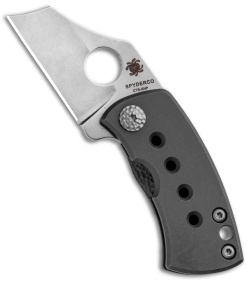 Spyderco McBee Frame Lock Knife Titanium (1.5" Stonewash) C236TIP McNeesMSRP: $260.00Our Price: $195.00
 -
4.75
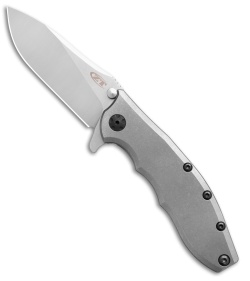 Zero Tolerance Hinderer 0562TI Frame Lock Knife Titanium (3.5" Satin MagnaCut)MSRP: $390.00Our Price: $312.00
 -
-
-
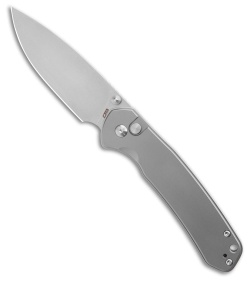 CJRB Pyrite Drop Point Button Lock Knife Titanium (3.7" Stonewash AR RPM9)MSRP: $113.95Our Price: $79.95
 -
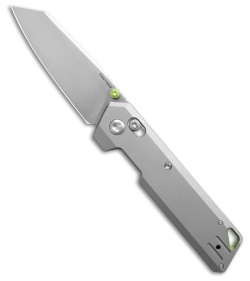 Vosteed Parallel Crossbar Lock Knife Gray Titanium (3" Satin) A3503MSRP: $150.00Our Price: $129.00
10 Step Titanium Anodization Process
- Clean and prepare your workspace, and put on rubber gloves to keep skin oils off your parts
- Disassemble your knife (as necessary)
- Clean parts with degreaser (Dawn, Simple Green, etc.) in an ultrasonic cleaning machine (if you don’t have the machine, you can just wash them in water)
- Dip parts in low-strength acid (Whink, Multi-Etch, etc.) for 15-30 seconds to remove any prior anodization/oxide layer
- Prepare your electrolyte solution (Borax, baking soda, etc.) in a non-reactive container (mix your electrolyte of choice in water according to the manufacturer’s directions)
- Put a piece of conductive metal (preferably stainless steel) into the solution and connect the negative electrode to it
- Suspend the knife parts in the solution from a conductive wire that won’t react with the solution.
- Choose voltage based on desired color (see chart below)
- Turn on the voltage machine (or hook up your 9V batteries) and begin anodizing!
- Remove your parts, turn off the power supply, rinse your titanium in water, and reassemble your knife
If you’ve done this before, the steps above should be just fine. If this is your first rodeo, however, you’ll want to read the full breakdown below.
How to Anodize Titanium: The Full Breakdown
Step 1: Prep Workspace
First things first: you need to have a clean, organized work station.
We recommend putting your ultrasonic cleaner on one side, followed by your rinse bath, acid, and then your electric power supply.
Keep the paper towels close so you can dry off your parts between dunks.
Step 2: Disassemble Your Knife
If you’re planning to anodize aftermarket parts—like the Flytanium Lotus scales—you can skip this step (obviously).
We recommend taking your knife apart on a shop mat and storing your removed screws/springs in a container where they won’t get lost.
Step 3: Clean Parts
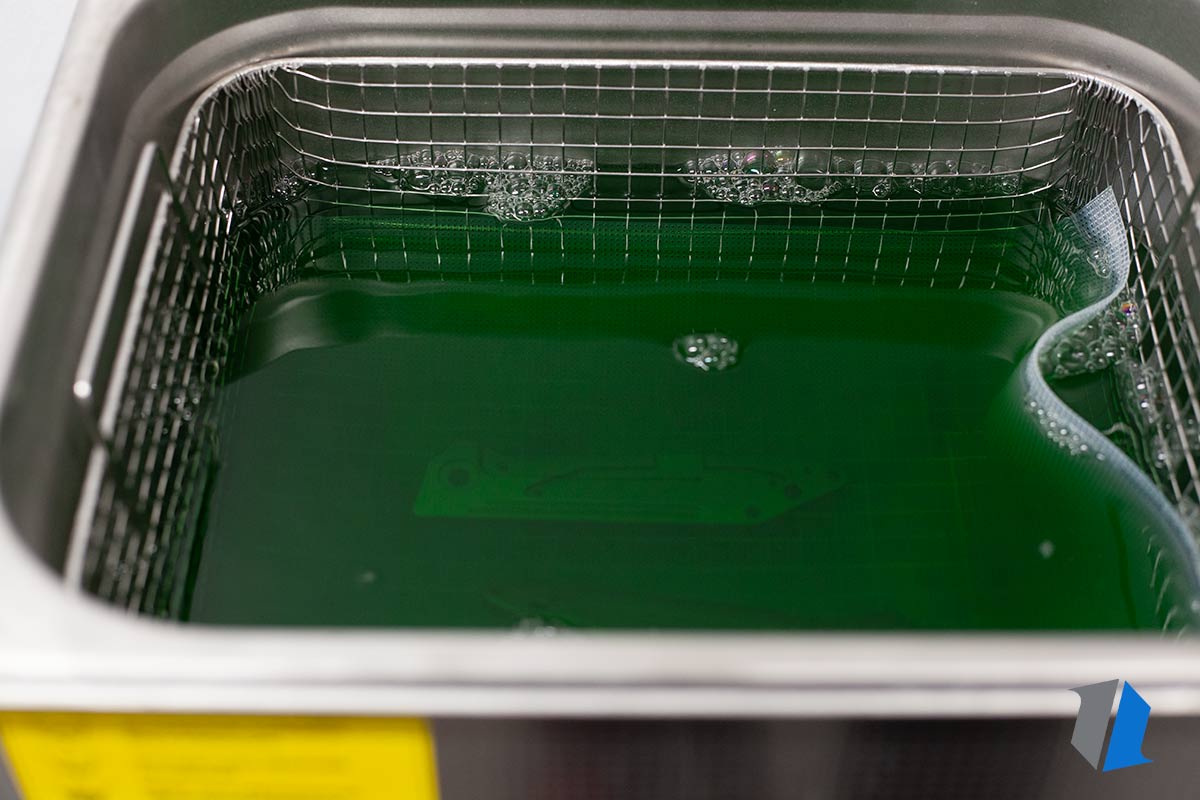
First, clean your parts. We used a full bottle of Simple Green in our ultrasonic cleaning machine.
You could clean the parts manually, but an ultrasonic cleaner ensures the parts are perfectly primed for the next steps.
Ultimately, the goal is to ensure there is no oil anywhere on the parts. Give your parts a quick rinse in water when done.
Step 4: Remove Prior Anodization/Oxide Layer
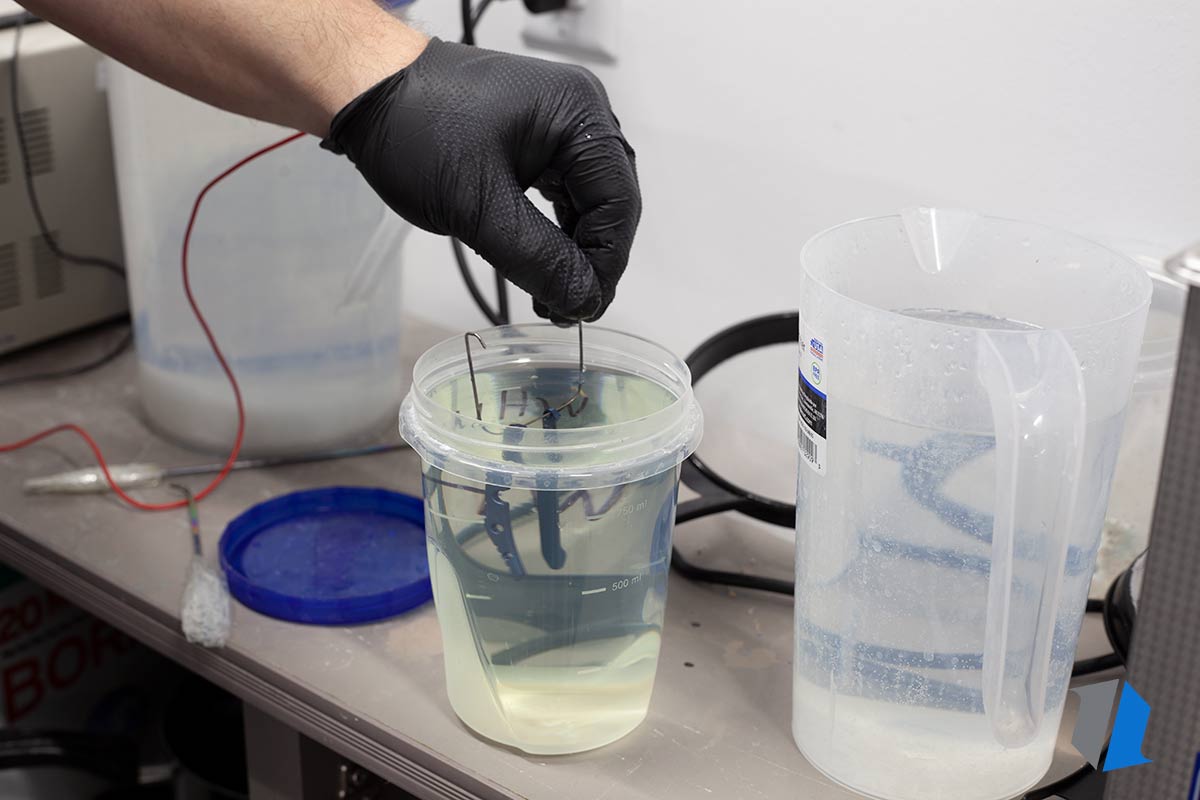
Now dip your parts into a low-strength acid bath to remove any prior anodization. We use a product called Whink, which is marketed as a rust and stain remover.
Ensure your workspace is well-ventilated so you don’t breath in anything toxic (go outside for this step if you need to).
Don’t leave your parts in too long!
The anodization should be gone within 15-30 seconds.
At that point, you’ll see some bubbling at the surface of the titanium—that’s your sign to STOP!
If your parts are bare titanium, it can still be a good idea to go through this acid step: Some titanium already has an oxide layer built up that can make anodizing unpredictable at higher voltages (50+ volts).
A bath in some low-strength acid can make your colors more vivid.
Rinse your parts well before moving on.
Step 5: Prepare Electrolyte Solution
In one of your non-reactive containers, prepare your electrolyte solution.
To do that, simply follow the instructions from the manufacturer, mixing your electrolyte in water according to their specifications.
You can also find anodization recipes online that may suggest a different electrolyte-to-water ratio.
Step 6: Prepare the Cathode
To complete the circuit that will anodize your titanium, you need both a cathode and an anode.
The cathode is your piece of conductive, non-reactive metal (ideally a piece of stainless steel) that’s a smidge larger than your titanium parts.
The cathode gets the negative charge. Hook it up and submerge it in your electrolyte solution.
Step 7: Prepare the Anode
The anode is your titanium parts. These get the positive charge. You’ll want to suspend these in the solution via a non-reactive, conductive piece of metal.
We used titanium wire and recommend you do the same.
You might be able to get away with stainless steel for a bit, but it will corrode over time and tarnish your anodization at the contact points.
Submerge your anode (parts) in the solutions across from your cathode. The two shouldn’t touch!
Step 8: Choose Color and Determine Voltage

Pick the color you want and mark down the required voltage.
You can overwrite a color by choosing another color with a higher voltage.
But once you’ve passed a color with a low voltage, there’s no going back without a reset in the acid!
Note that washing away your anodization in the acid too many times can result in a less vibrant final result.
Step 9: Anodization!
WARNING!
Don’t do any of this without proper knowledge of what you’re doing. It can seem really simple, but if you mess up, we’re working with enough power to end your life.
Do some research. Be smart. Use your noggin. Watch, like, 178 different YouTube videos and read tutorials on random forum websites that no one has visited in 12 years.
Back to the guide…
Time to turn on the voltage machine (or hook up your 9V batteries).
If you’re going the battery route, skip ahead to the Anodizing With 9 Volt Batteries section.
You can either turn on your machine with both the anode and cathode inside the solution, or lower your titanium into the solution after turning on the power.
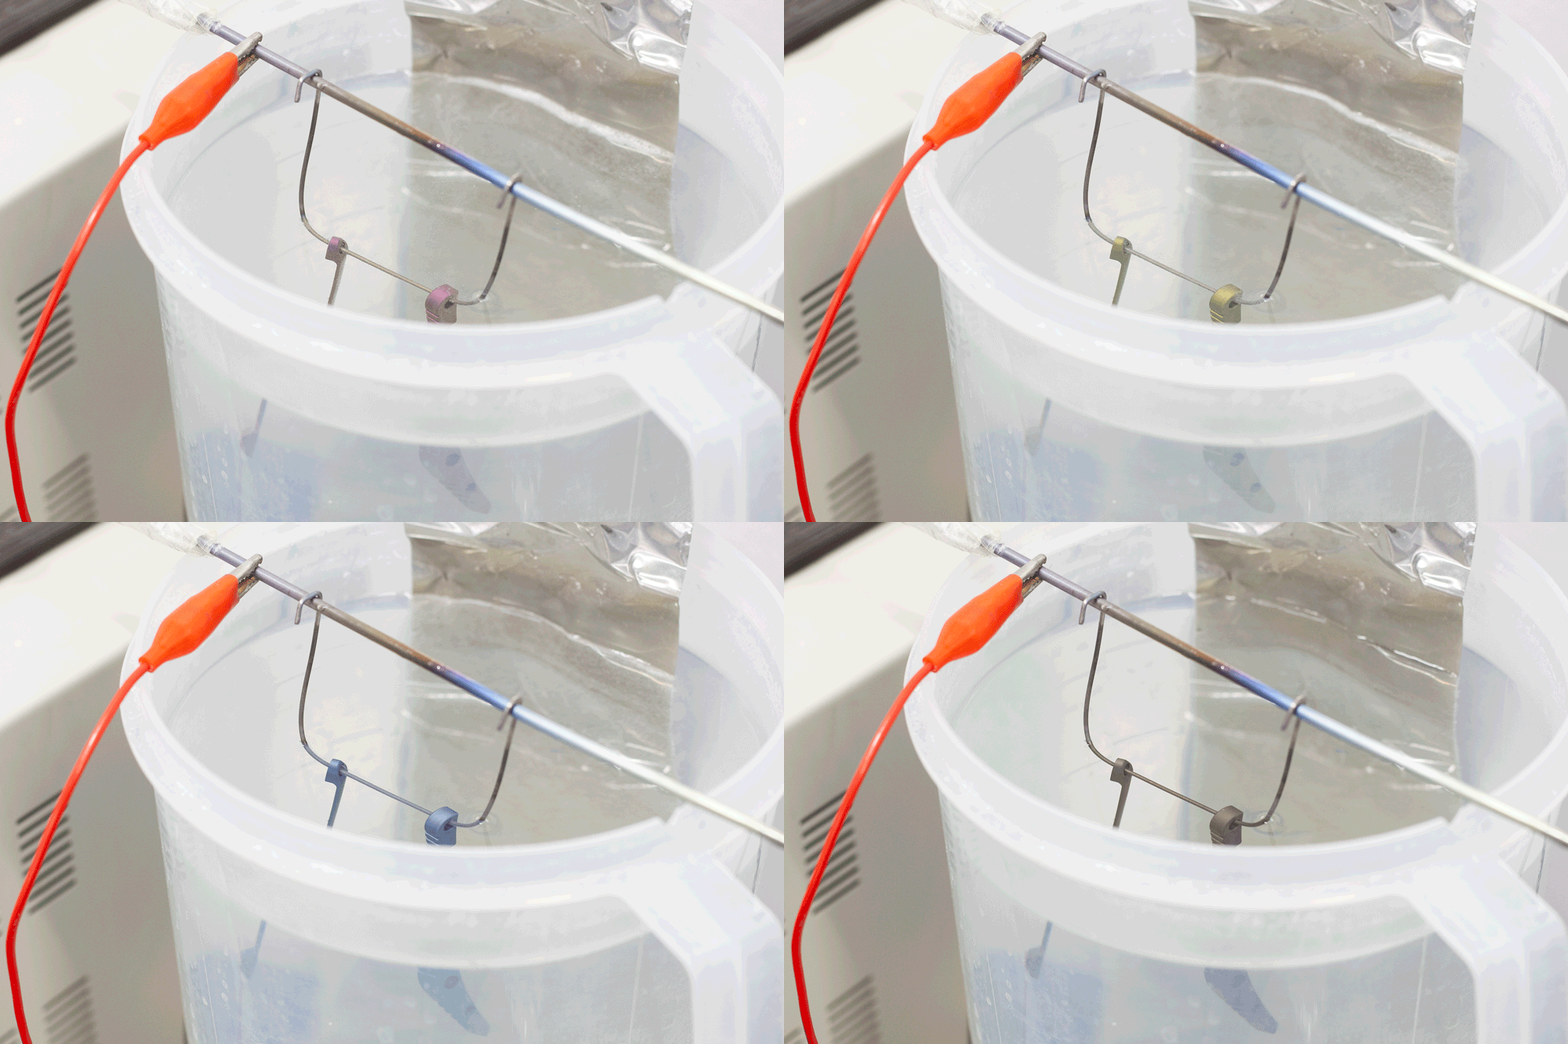
When both pieces are in the solution, bubbles will form, and the titanium will cycle through its colors up to the voltage you chose.
Step 10: Clean Up
Turn off the power, remove your titanium from the solution, and rinse your parts in water.
If you’re happy with the result, reassemble your knife and admire its stunning new look!
Customization Through Masking
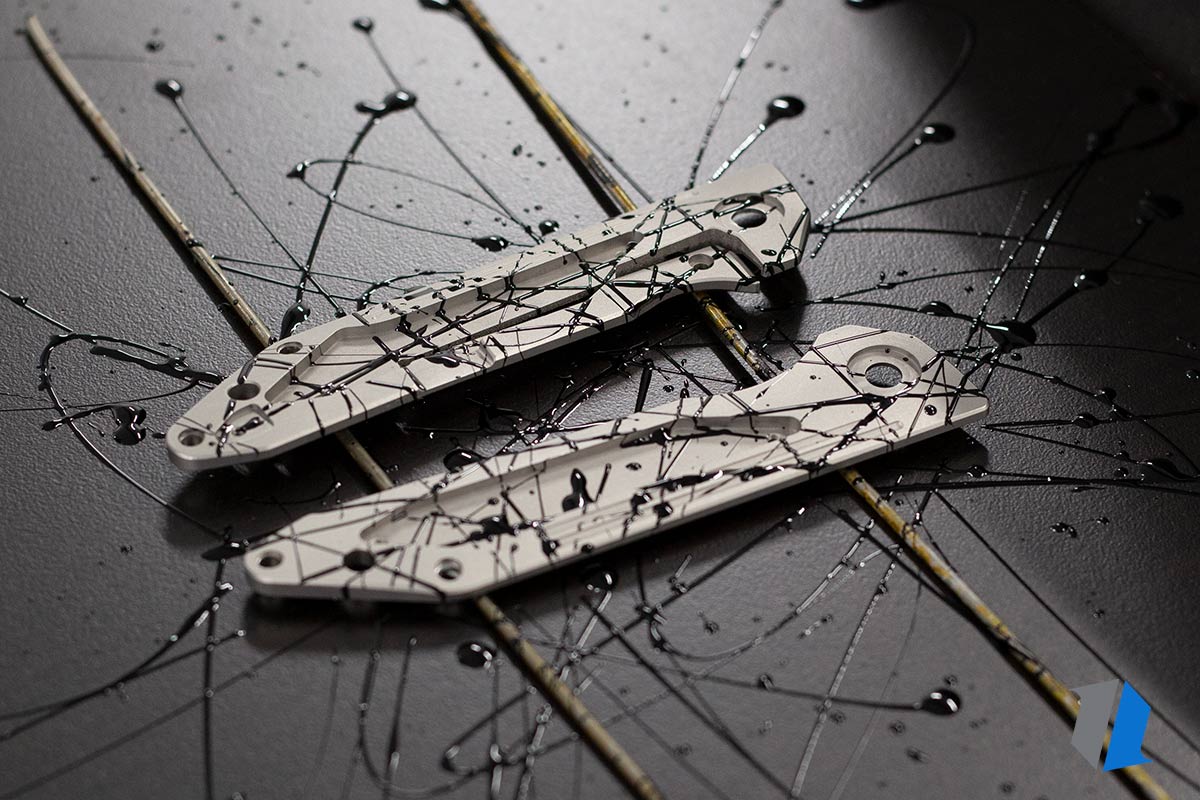
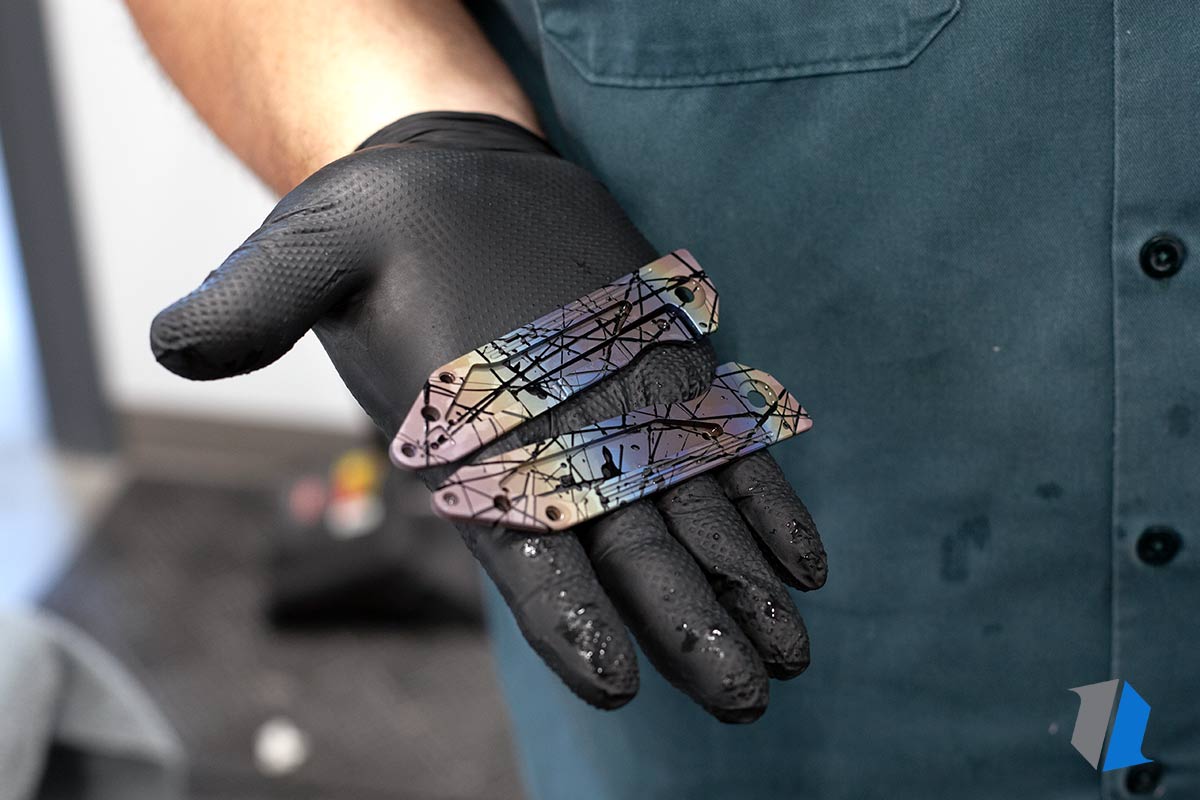
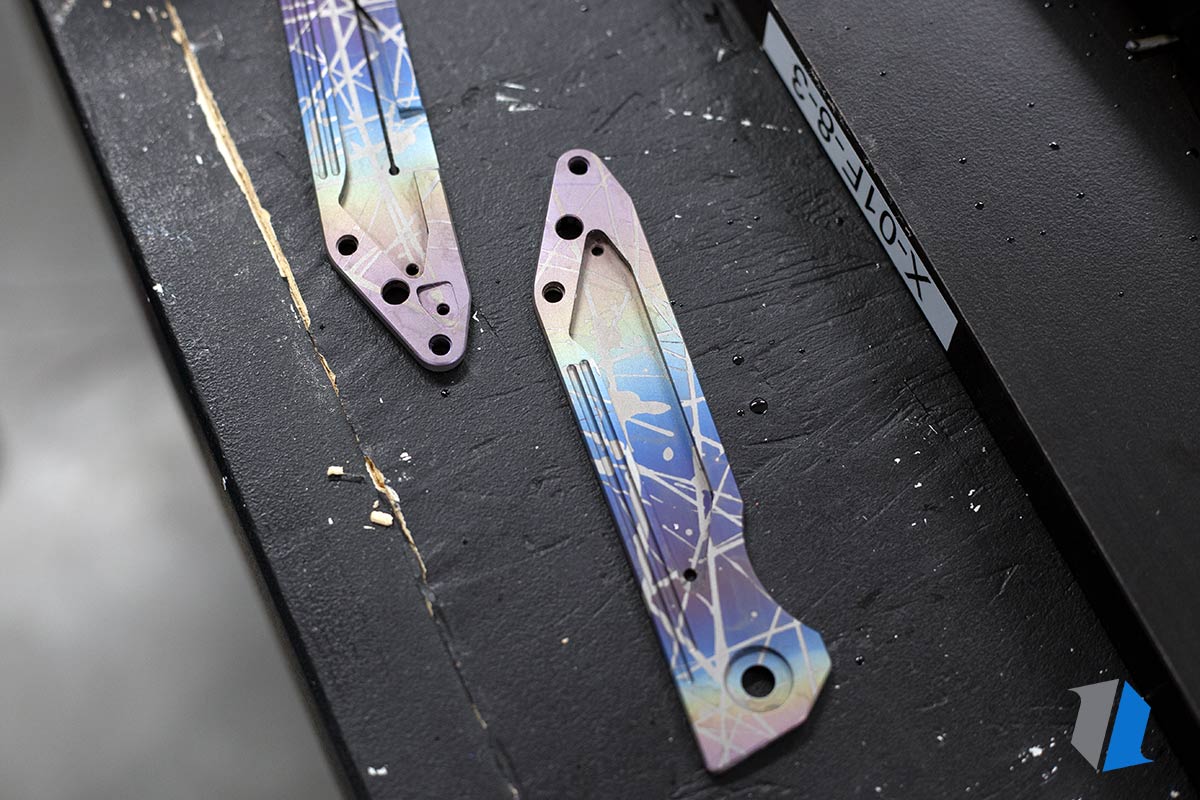
You can achieve so many different effects through masking.
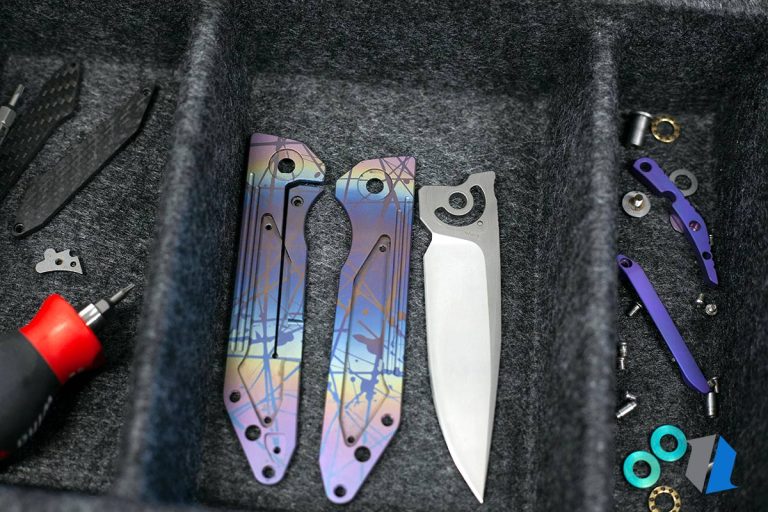
On the knife pictured above, we used nail polish to mask off a splatter pattern. We removed the nail polish with acetone to reveal the striking pattern.
Vinyl or tape also works for making patterns, and professionals use lasers to apply designs digitally.
Anodizing With 9 Volt Batteries
If you want to anodize your gear as cheaply as possible, you’ll want some 9V batteries.
But it’s going to take some math to get your colors figured out. Connect your batteries in series with wires; each one will bump your voltage by—you guessed it—9 volts.
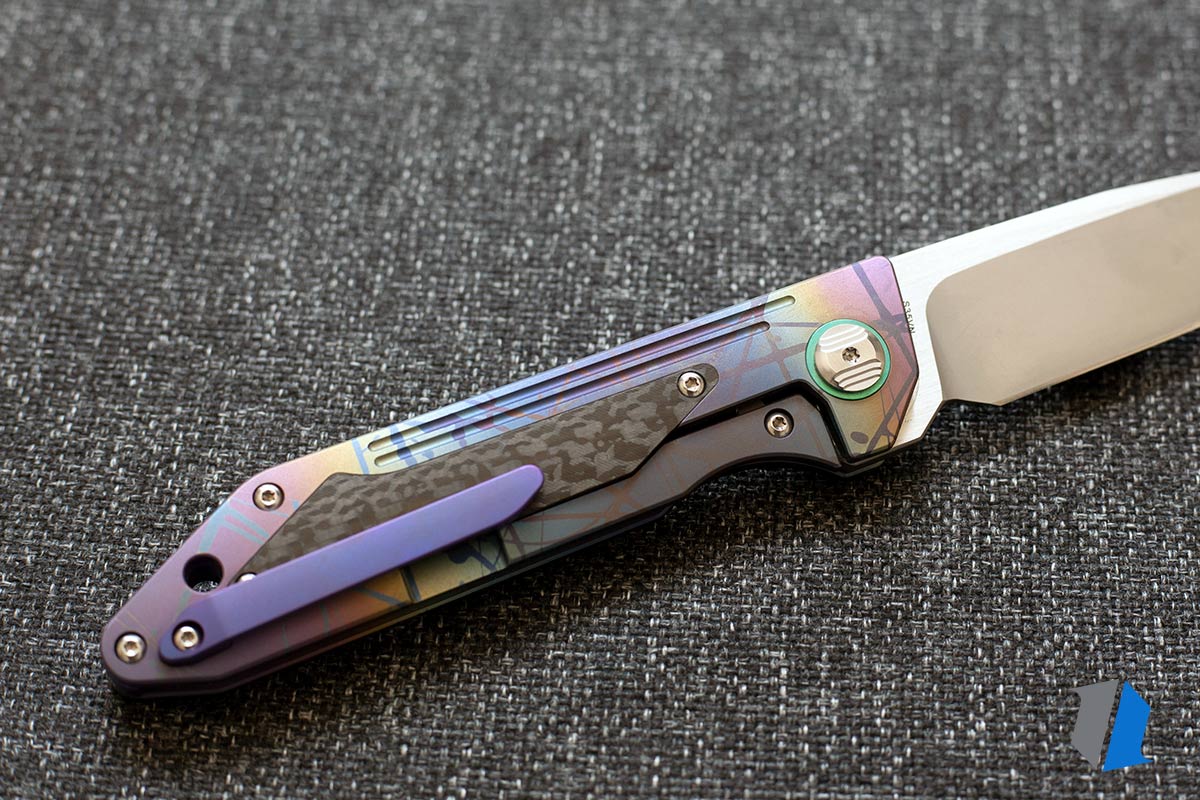
We’re lucky enough to have a dedicated power supply on hand for anodizing, but batteries will work just fine! Check out the video above for an example of anodizing with batteries.
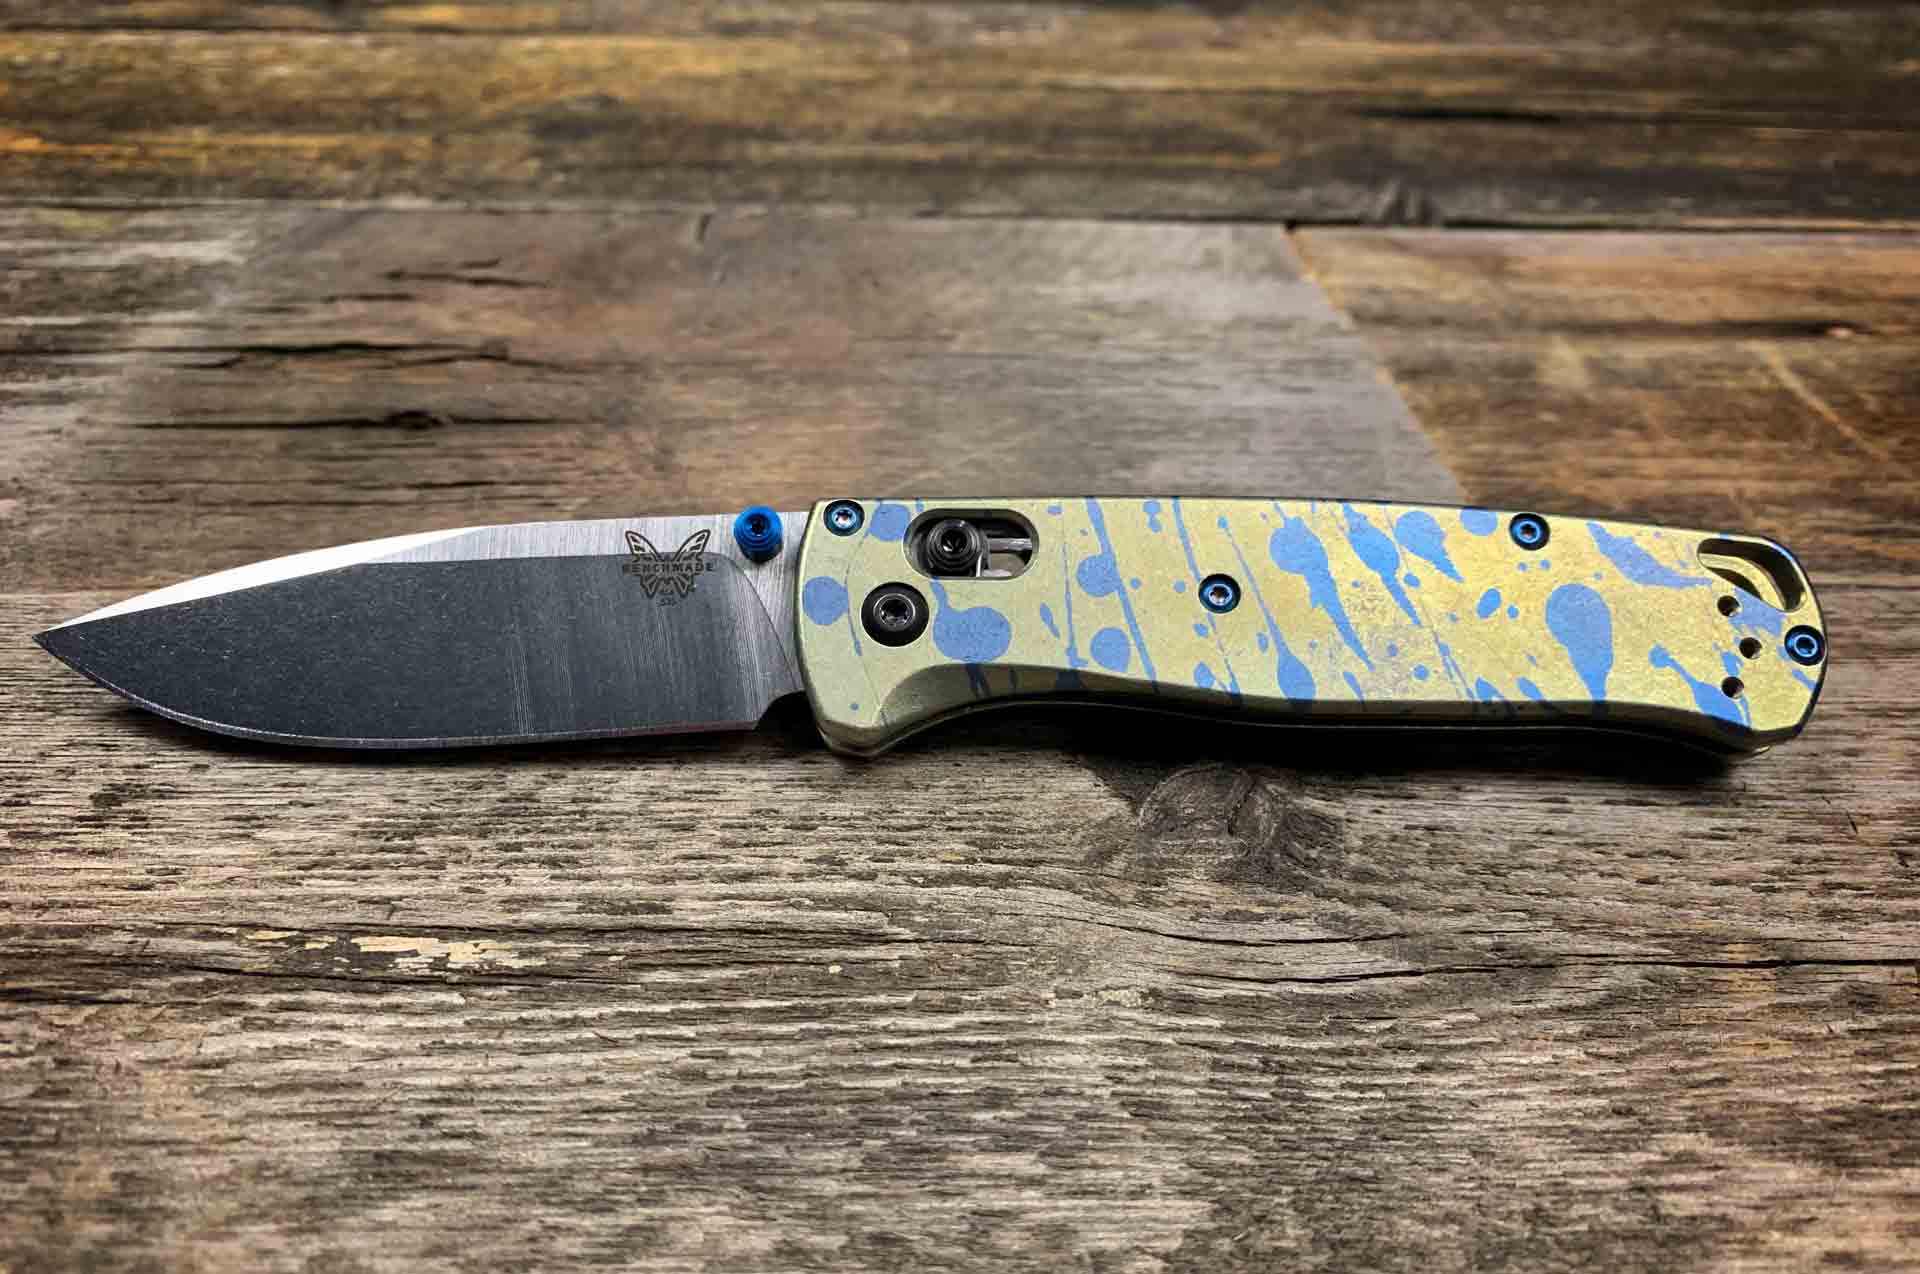
This is what we were able to do with a Bugout and Flytanium scales in just an afternoon.
Titanium: Light, Strong, and Colorful
Anodization is a really fun and simple way to amp up the personality on your EDC.
Now all your titanium anodizing dreams are within reach. If you anodize your knife, tag us on Instagram! We’d love to see what you’ve whipped up!
FAQ
Can you anodize titanium at home?
Yes. This article will teach you how. Don’t have the fancy machines? Don’t worry! You can use Dawn dish soap and 9V batteries! Read the article or watch the video to learn how.
Why does anodized titanium change color?
Anodizing titanium forces the metal to generate a thin oxide layer. As that layer thickens with increased voltage, it reflects different colors of light. Check out our voltage/color chart above!
What voltage produces each anodized titanium color?
- 10–15 volts: Bronze
- 16–20 volts: Purple
- 21–30 volts: Blue
- 31–45 volts: Teal
- 46–55 volts: Gold
- 56–65 volts: Pink
- 66–80 volts: Cyan
- 81–95 volts: Green
- 96–110 volts: Gray
Note: These colors are approximate. The exact shade can vary depending on the titanium alloy, surface finish, and anodizing setup.
Can all titanium be anodized?
Yes. But higher grades of titanium will have more vibrant, clearer colors than lower grades.
Is anodized titanium permanent?
Yes. The anodization process forms a permanent oxide coating on the titanium. You can remove the coating with acid, and it can be scratched, but it won’t "fade" on its own.
Can you remove anodizing from titanium?
Yes. Simply dunk your titanium piece in a mild acid like Whink Rust Stain Remover or Multi-Etch for 15-30 seconds.
Does anodizing titanium make it stronger?
Technically yes. Titanium oxide is harder than titanium, but the anodization layer is very thin, so it provides little benefit in this regard unless the titanium is specifically anodized using a method intended to impart a hard coat.
Can you anodize titanium red or black?
No. Although aluminum can be anodized in those colors, titanium cannot. If you want red or black titanium, you’ll need a coating like PVD, DLC, or Cerakote.


 Copyright © 2026 Blade HQ. All rights reserved